Getting started with web development can be daunting and overwhelming if you don't know where to start. This article will take you step-by-step through the basics of getting your first web application built.
Prerequisites
Install Python
Before getting started, make sure you have Python installed. I recommend using the Anaconda distribution of Python which comes bundled with a number of useful libraries and saves you the trouble of needing to install them later. If you have to choose, use Python 3 or newer.
Install Flask
You'll also want to make sure you have Flask installed. Flask is the web framework we'll be using to build our application. Once Python is installed, you can use Pip (Python's package manager) to install Flask by running
Learn Some Command Line Basics
We're going to use the command line in our examples. For Windows that means Command Prompt, Powershell, or Ubuntu on Windows, for Mac that means Terminal. We'll be using Unix-like commands throughout the tutorial, so I recommend Ubuntu on Windows if you're using Windows.
If you've never used a command line before or need a refresher, there are a lot of tutorials out there, just Google it. But here's one for Linux to get you started.
Verify Your Installation
Verify Python is installed an is in your path:
You should see a version in the output. To verify Flask is installed, run:
If you get no errors, you should be good to go.
Background
This section explains some general background knowledge on how the internet works and networking fundamentals. If you have some background in it or don't want to consume too much information right away, feel free to skip it and come back later.
How the internet works (briefly)
The most fundamental explanation of how the internet works is the client-server model. It goes something like this: you have a client which can be a laptop, mobile device, web browser, mobile app, etc. and a server (e.g. a computer on the internet). See below.
+----------+            +----------+
|          |            |          |
| CLIENT   | <========> | SERVER   |
|          |            |          |
+----------+            +----------+
The client (i.e. you) makes a request of the server (i.e. jdkaplan.com) by
saying something like "Hey, I want to read the article about web development."
And the jdkaplan.com server responds and says something like "Here you go,
here's the article."
The language of that request and response is a bit more specific. But that's it. The client requests something and the server responds.
Internet Protocol
The primary mechanism computers use to talk to one another on the internet is called Internet Protocol (IP). Without getting into too much detail about how IP works, let's go over just a few basics.
All machines on the internet have an IP address of the form 123.123.123.123, where
123 can be a value between 0 and 255.
(Note: We're just talking about IPv4 here. We won't be discussing IPv6). Under-the-hood
all domain names, such as jdkaplan.com or ucf.edu map to an IP address using
a system called DNS (Domain Name System, also out of scope for this post).
The IP address 127.0.0.1 is special and tells a computer to refer to itself.
So when we run a simple web server below, it will be accessible via the IP address
127.0.0.1. Most computer also have a special name for this: localhost. This
is what you'll see in the examples below.
Different protocols exist on top of IP. For example TCP/IP is what the internet is built on. HTTP is a protocol built on top of TCP/IP. There are many different protocols that define the specifics of how two machines will talk to one other.
IP also uses something called ports. Ports are simply a number appended to the IP address or domain name. They can be a value between 0 and 65535. By default port 80 is used for HTTP and 443 is for HTTPS.
These ports usually aren't seen on the web, but you can go to https://jdkaplan.com:443
and everything will still work just fine. You're browser just hides the port from you
when using default ports. In our examples below, we'll use alternate ports (e.g. 5000).
This is mostly because ports below 1024 are reserved for privileged accounts. But you
could also have multiple web servers running on a single machine using different ports.
HTTP
What that looks like, a little more specifically, is a protocol called HTTP or HyperText Transfer Protocol. That looks a bit more cryptic, but here's a simple example:
I ran the command curl -Lv jdkaplan.com/articles/index.html, which has a lot of output,
but the important part looks something like this:
> GET /articles/index.html HTTP/1.1
> Host: jdkaplan.com
> User-Agent: curl/7.71.1
> Accept: */*
This says "I want to GET the /articles/index.html page from jdkaplan.com. The
server then responds with something like
< HTTP/1.1 200 OK
< Content-Type: text/html
< Content-Length: 27726
< Connection: keep-alive
< Date: Mon, 07 Jun 2021 20:26:07 GMT
< Last-Modified: Mon, 07 Jun 2021 00:54:26 GMT
< ETag: "a6e163063f3137d5db457cfabb097736"
< Accept-Ranges: bytes
< Server: AmazonS3
< Vary: Accept-Encoding
< X-Cache: Miss from cloudfront
< Via: 1.1 f9ae6e33f293d8a4e80f48fca6093c68.cloudfront.net (CloudFront)
Followed by a whole bunch more data (mostly HTML and Javascript). The metadata above
provides some information like a response status of 200 OK, meaning we got your
request and everything is good and Content-Type: text/html which says the the
data that will follow is HTML or HyperText Markup Language, which tells your browser how
to render the page.
Getting Started
Open your command-line tool for your system (item #3 above) and navigate to the directory (a.k.a folder) where you want to write and store your code.
You can do this by running:
Replace /path/to/your/project with the path to your project.
Creating a Webserver
Create a new file for our Flask application by running touch app.py.
Open up app.py in your text editor of choice and add the following:
=
return
Viewing Your App
Now, you can navigate to http://localhost:5000 in your web browser of
choice and you should see "Hello, World!" displayed on the screen.
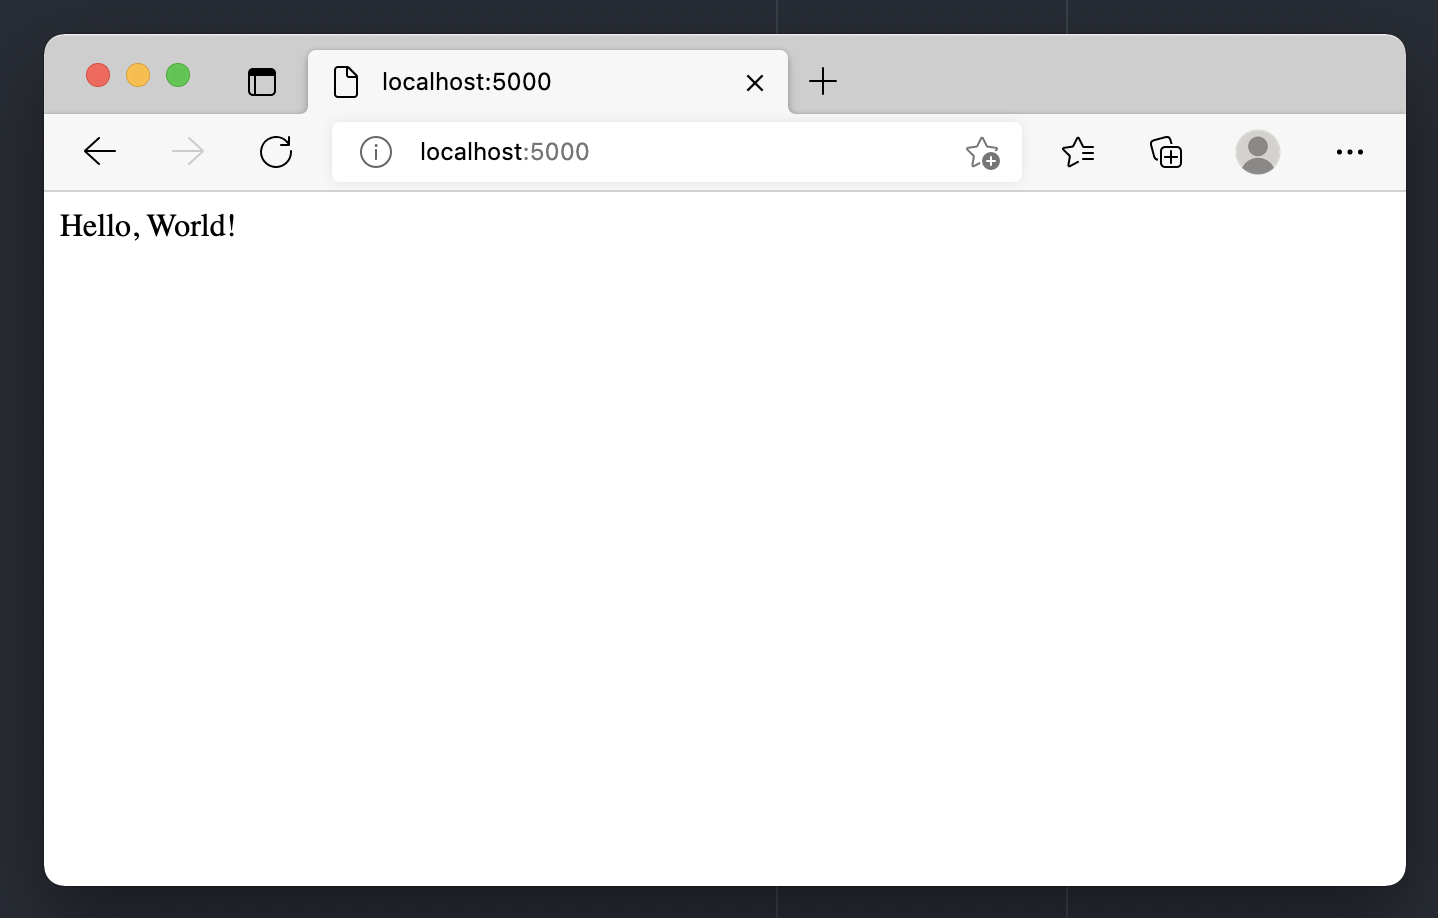
Congratulations! You've built a website. Press CTRL + C to stop the server.
Rendering HTML
Now let's display something with a bit more formatting. To do this, we'll introduce HTML (Hypertext Markup Language), the language of the web. HTML is a markup language, meaning it's used to tell the browser where and how to render text. It isn't a programming language because it doesn't do anything.
To get started, create a directory called templates alongside your app.py file.
You can do this with the mkdir templates command. Then create a file in that
directory called hello.html by running touch hello.html.
Open up the HTML file using the text editor of your choice and add the following text (which we'll explain in a moment):
Sample App
Hello!
This is a Flask application.
Then, update your Flask webserver to render the new template instead of returning
the "Hello, World! string. Note that Flask looks for templates in the templates
directory.
=
return
Restart your webserver (the app.py program) and refresh your browser to see
your new changes.
Understanding HTML
HTML is a markup language consisting of sets of tags. For example the <h1>
tag in the example above is for level 1 headings and it formats text accordingly.
Similarly, <p> is for paragraph. Most tags have an open tag (e.g. <h1>) and
a close tag (e.g. </h1>) with some content or text in between. Some tags,
such as <img src="myImage.jpg /> for inserting an image into a page don't use
a close tag and instead use a single tag ending in /> because an image is either
there or not. It doesn't need text in between open and close tags. We'll see that
later with the <input /> tag.
To learn more about HTML, W3Schools.com has some useful tutorials and references.
Accepting User Input
Now let's make our web application actually do something. In this example, we want to ask the user for their name and instead of just saying Hello World, we'll use their name.
Now we need to make two updates to our HTML file. First, change Hello! to
Hello, {{name}}!. The {{something}} syntax is used by Flask's templating
engine to allow you to pass variables from your Python code into your HTML
templates. Second, add the form, input, and button tags shown below to
render a simple form.
Sample App
Hello, {{name}}!
Enter your name:
Enter
HTML forms are used to capture user input. A form has a method, usually
GET or POST to indicate the HTTP method to use when submitting the form.
For now, we'll use GET. The form tag also has an action parameter, used to
define where to submit the form to. In this case we'll use / and talk more
about routing later. The button is simply used to submit the form.
Once again, restart your webserver and refresh your browser to see the updated view.
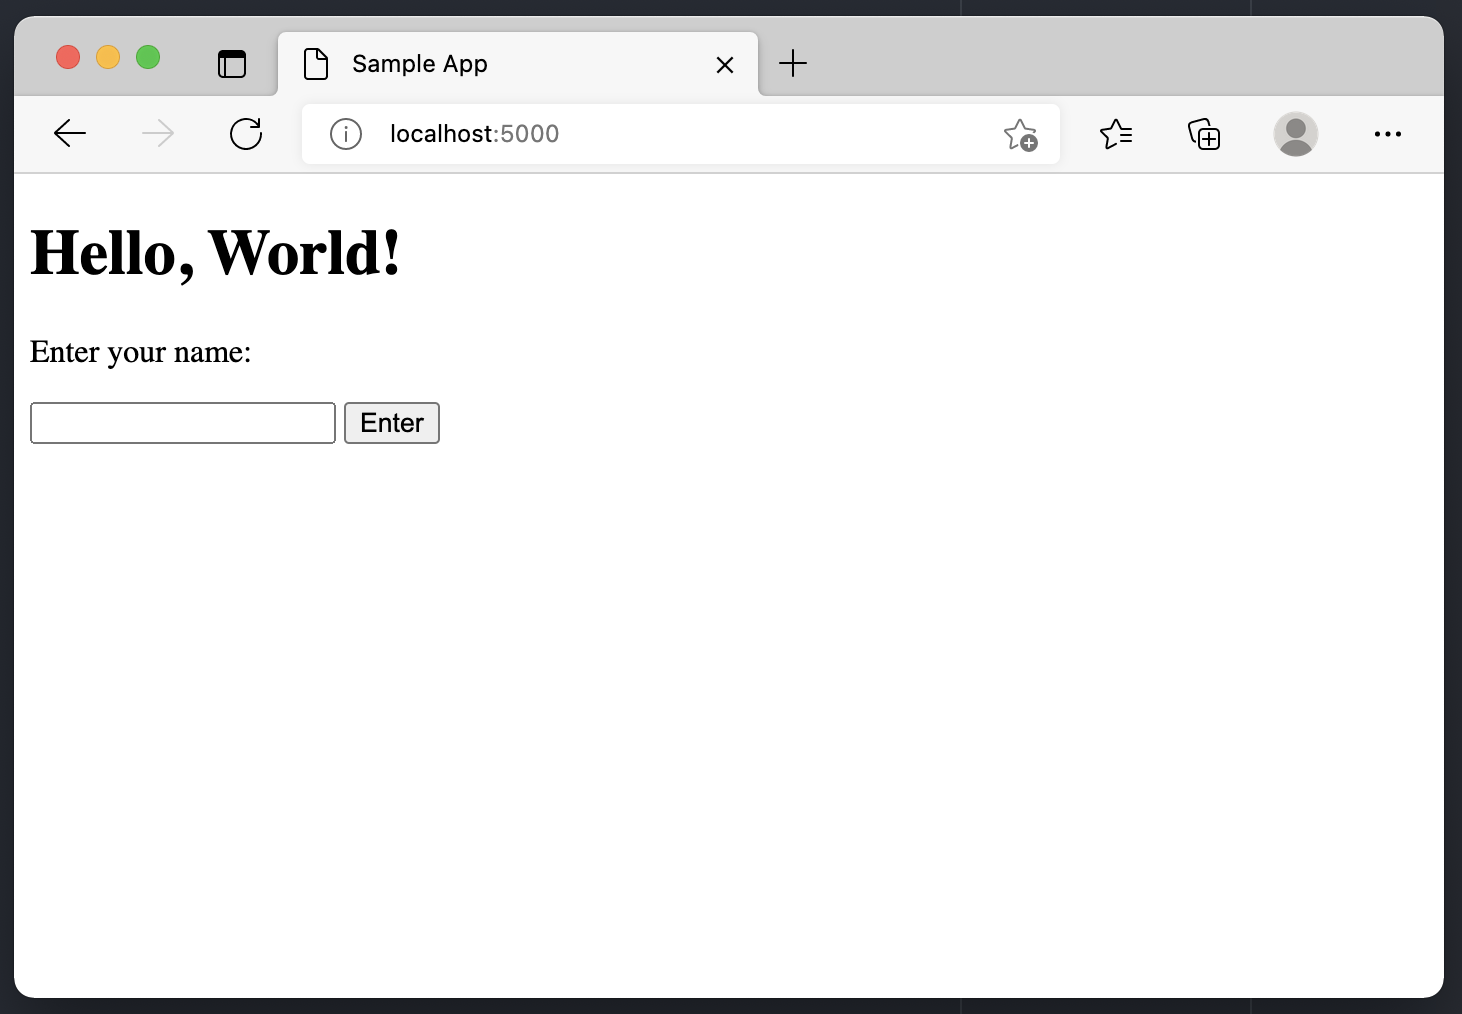
Enter your name and submit the form to see it work.
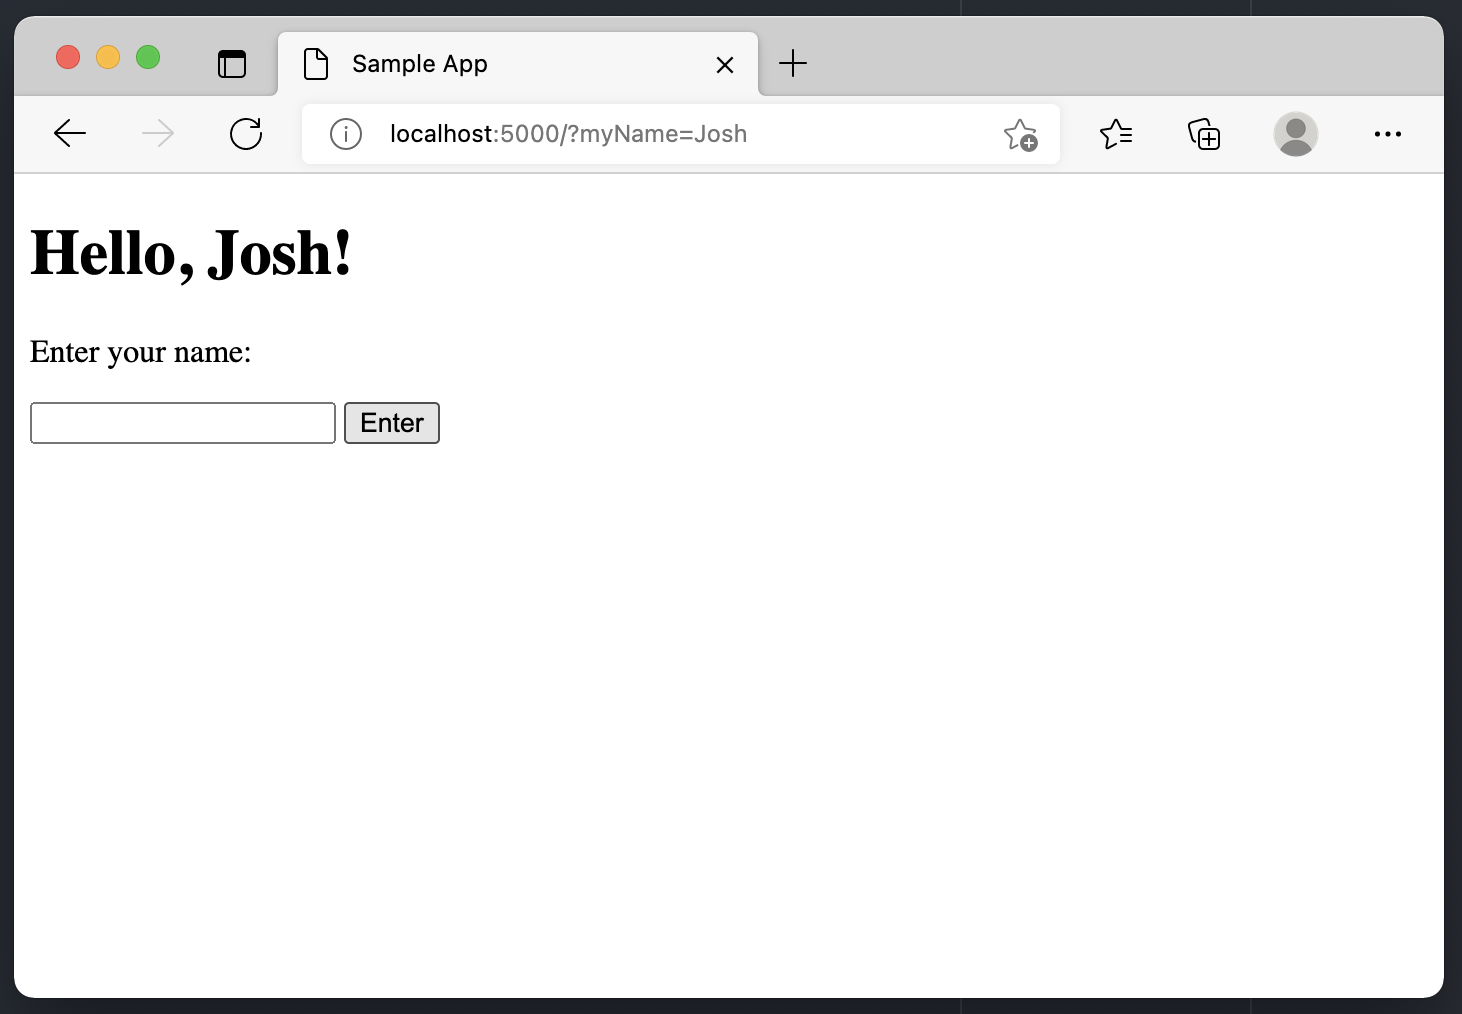
You'll notice the URL changes after the form is submitted and now includes
?myName=Josh at the end. This is how the HTTP GET method works. It adds the
form inputs to the URL.
GET vs. POST
Let's briefly explore the difference between GET and POST. First we need to update our HTML form to handle the form submit using the POST method.
Sample App
Hello, {{name}}!
Enter your name:
Enter
Then we need to update our Python code to handle the POST. We do this by
explicitly telling Flask to allow the GET and the POST methods for our root
(/) route (by default Flask only allows GET).
=
# If the request was a POST (i.e. form submitted), get the user's name
=
= None
# If they didn't enter a name, use "world"
=
return
Note that we also have to write some logic to handle if the request is a POST
(request.method == 'POST') because when the user first views the page in the
browser, the method is GET, not POST, because that's how browsers work.
Cleaning Things Up
Finally, we can make this a little bit simpler to read and understand by separating
the GET and POST handling into two separate functions. In this case, the
hello_world function handles GET requests (i.e. when the user navigates to
our page in their web browser) and the hello_user function handles POST requests.
=
return
=
return
Each of these functions is now much simpler to understand and the same hello.html
template is user for both, but with different inputs.
Why POST vs. GET?
There are a few reasons to why you might choose GET or POST. GET is used when the request parameters should be part of the URL, for example in a search.
Take Google as an example, when I enter a search for, say, UCF the search term
becomes part of the URL as a GET request. In fact, if you remove a lot of the
extra content from the URL, you get something like this: https://www.google.com/search?q=ucf.
This means I could copy the URL from my search and share it with you. If you ever tried to share a link with someone and they didn't see the same results you did, it's possible the website was using a POST when they should be using a GET.
On the other hand, when I'm logging into a website or entering my credit card information, I really don't want my information being passed around in the URL for anyone to read. Thats why forms that collect sensitive information like passwords or credit card numbers use POST.
As a general rule of thumb, you want to use GET when the user is retrieving (or getting) information from the application and POST when they are sending (or posting) data to the application.
Summary
We went over the basics of how the web works and building a simple webserver using the Python programming language and the Flask web framework. We saw how to get and handle user input and display it back to the user.
In future tutorials I'll get into more depth, show how to style pages and use JavaScript to make you application dynamic and asynchronous.
Sample code for the examples discussed above can be found at https://github.com/josh-kaplan/web-development-examples.